M2Slim Install Guide
Step 2: Remove shielding
Overview
This step covers removing the metal shielding from the PS2 main board.
The disk drive assembly will need to be removed to avoid damaging it during the next step.
Tools:
Required:
Philips head #0 and #1 screwdriver
Reccomended:
Pry tool
Tweezers
Step 2.1 Disconnect DVD drive cables
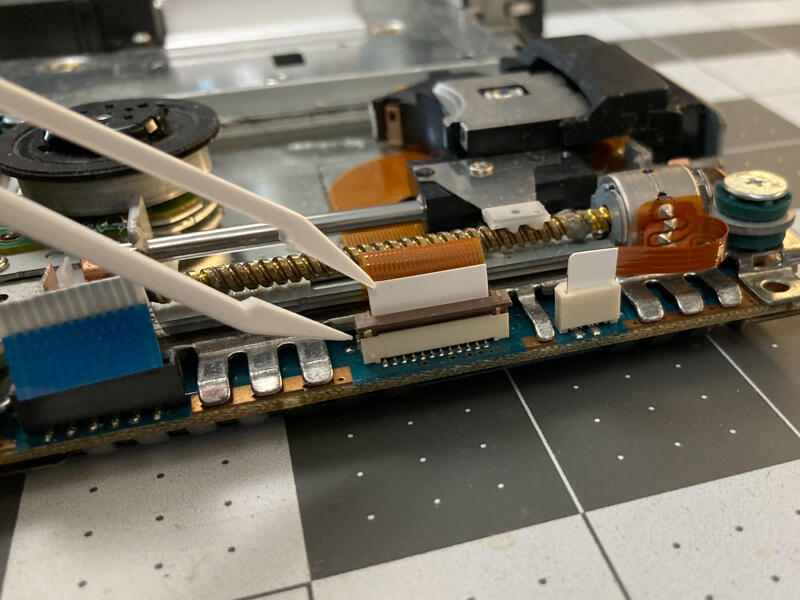
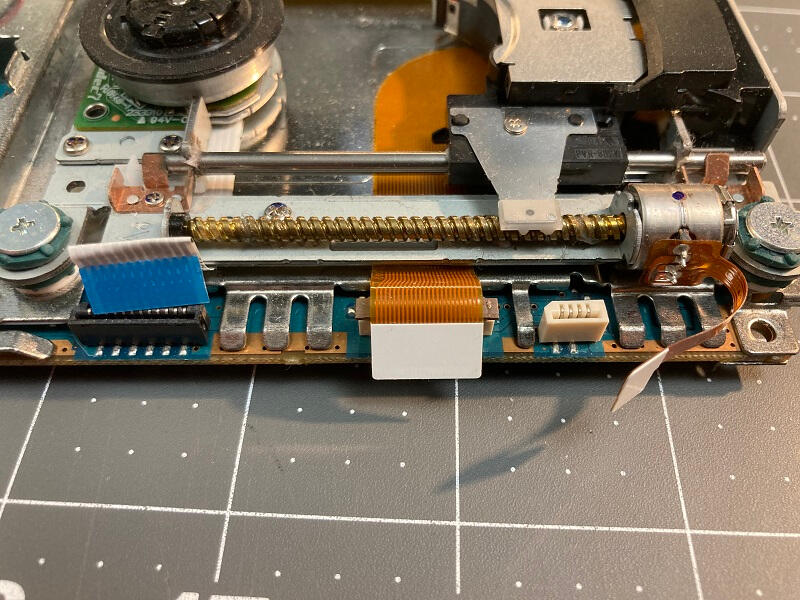
Remove the middle cable by first lifting the brown locking actuator on the connector then pulling the cable up.
Disconnect the other two cables by pulling vertically up from the board.
Step 2.2 Push DVD drive carriage out of the way
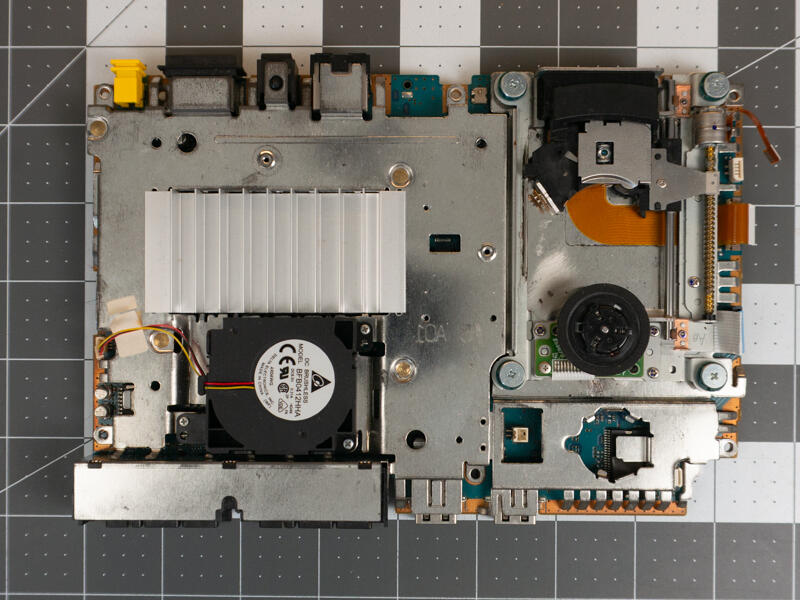
Use your finger to gently push the laser carriage to the top of travel.
Step 2.3 Remove DVD screws
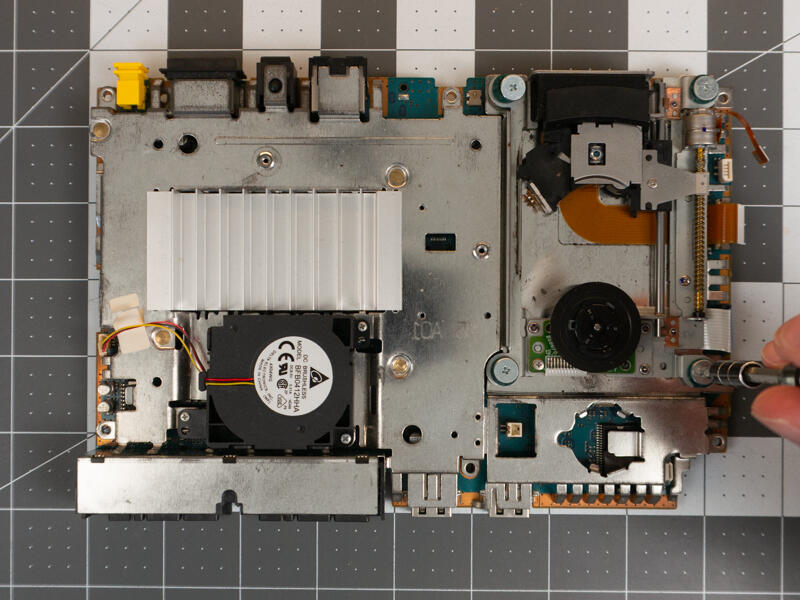
Using a size 0 Philips screwdriver remove the 4 screws from the DVD assembly.
Step 2.4.1 Remove DVD assembly (PVR-802W)
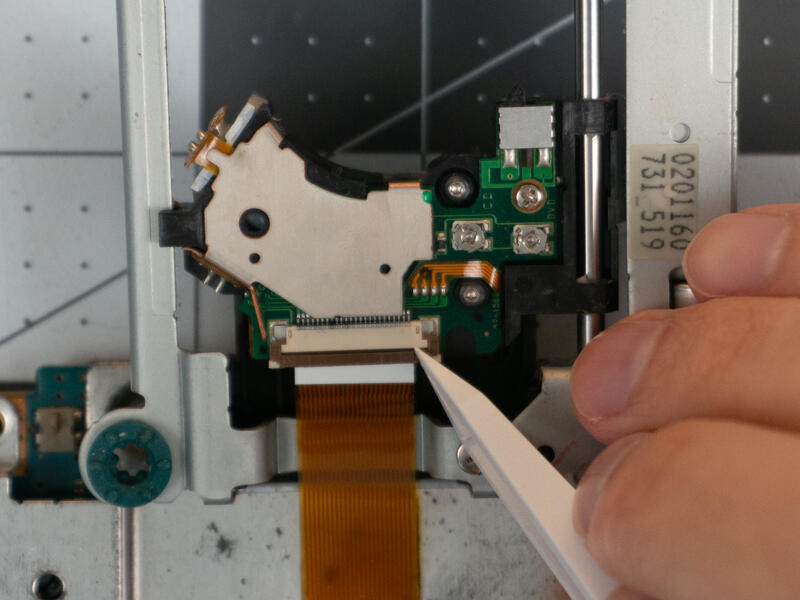
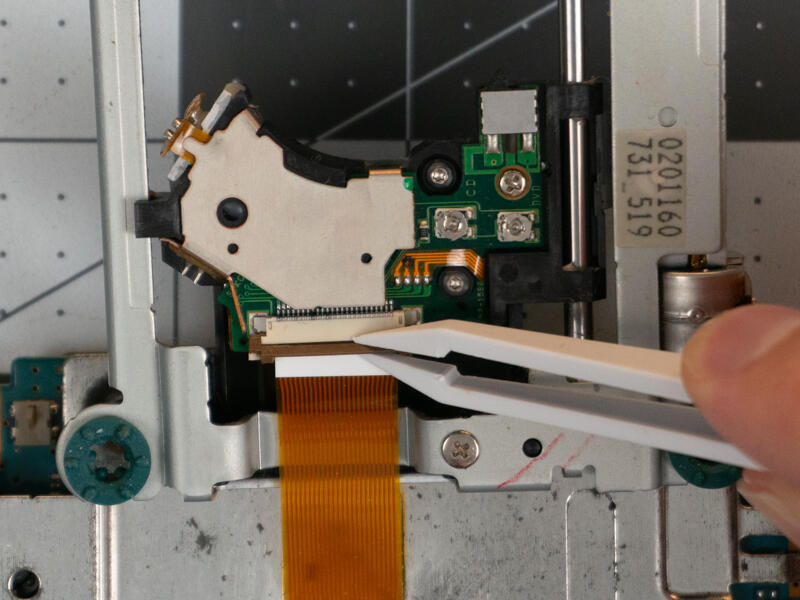
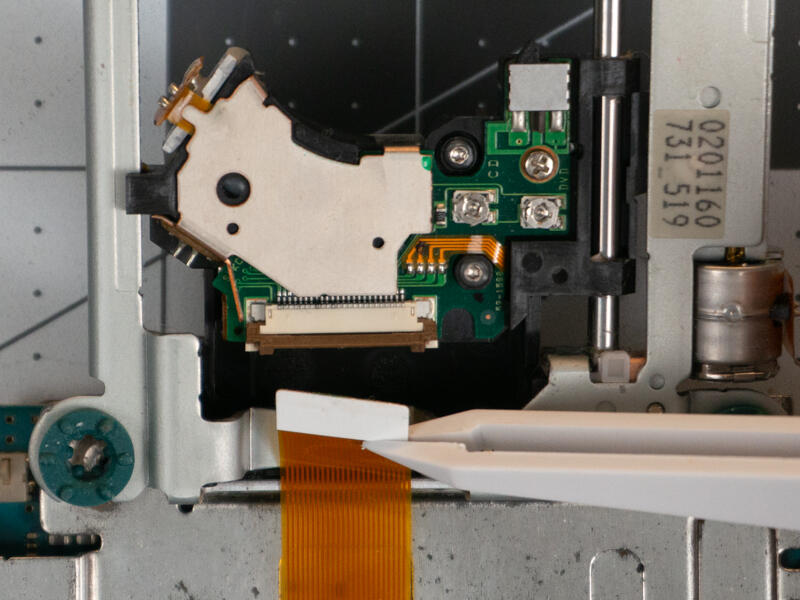
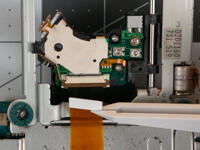
Carefully flip drive upwards.
Lift the brown locking actuator up about 45° to release the cable.
Gently pull out the cable downwards.
See next step if your drive looks different
Step 2.4.2 Remove DVD assembly (SPU-3170)
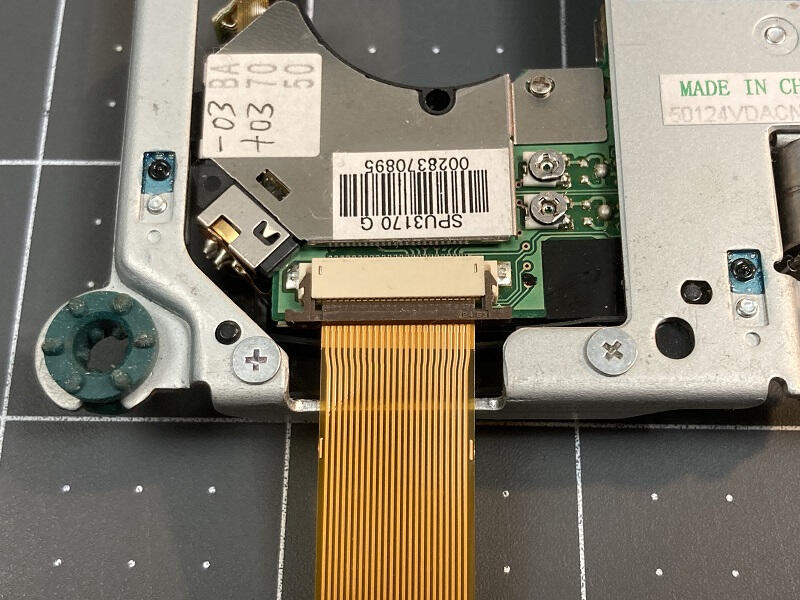
Carefully flip drive upwards.
Slide the brown locking actuator down in the same direction as the cable.
Gently pull out the cable downwards.
Step 2.5 Remove bottom screws
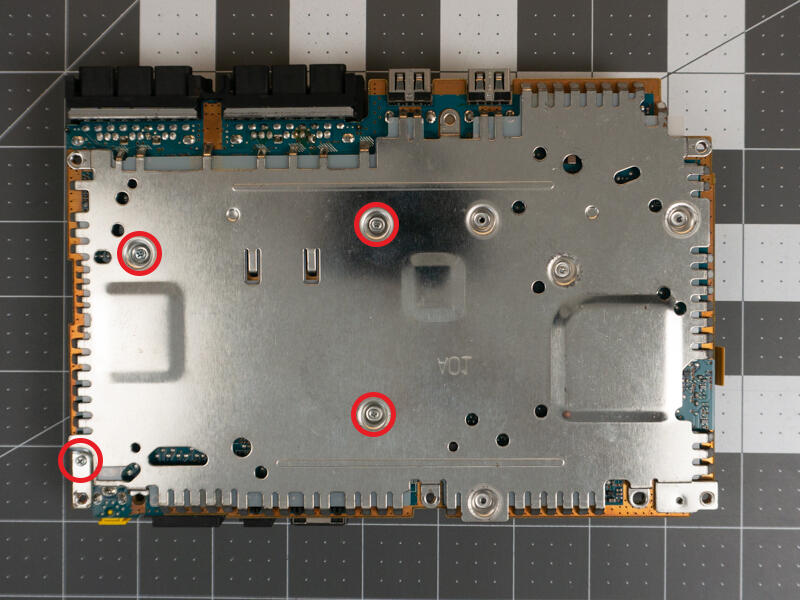
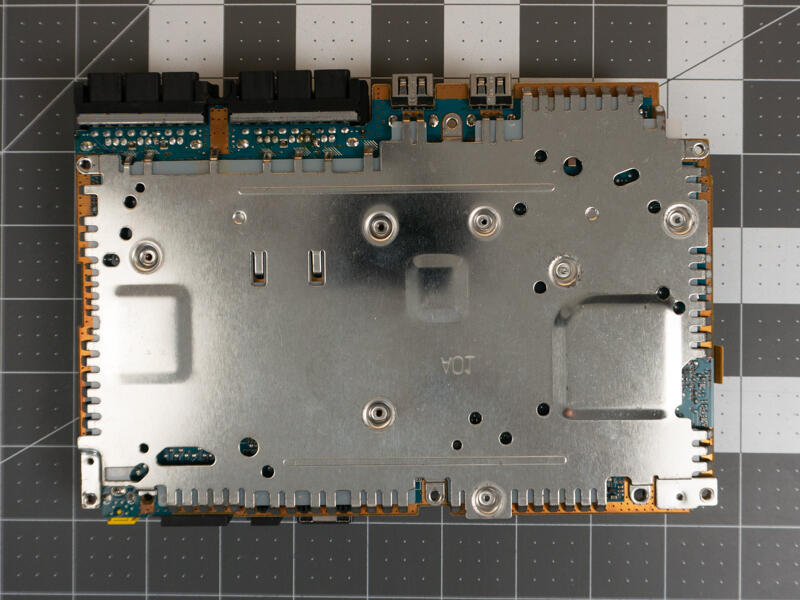
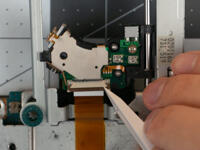
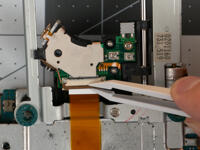
Flip shell over.
Remove 4 size 0 Philips screws.
Step 2.6 Remove DVD screw
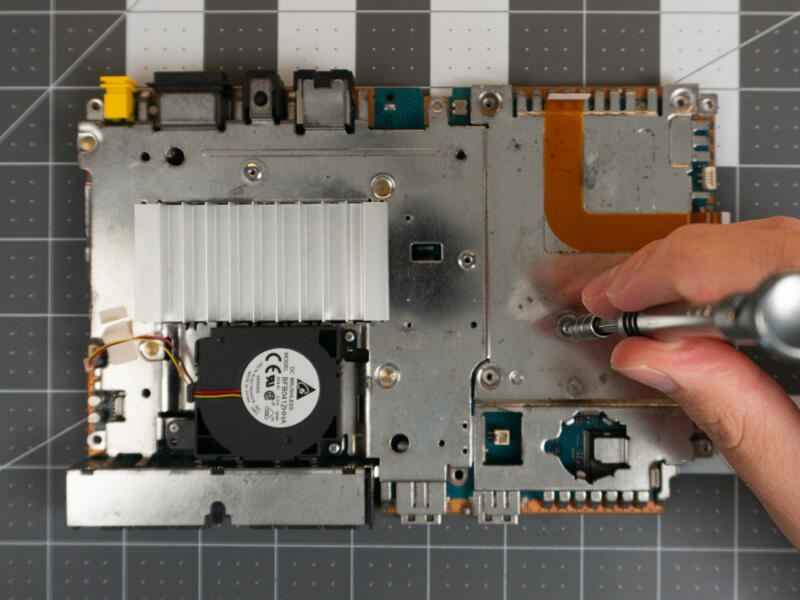
Flip back over to top side of board.
Remove screw that was hidden under the DVD drive.
Step 2.7 Remove top shield
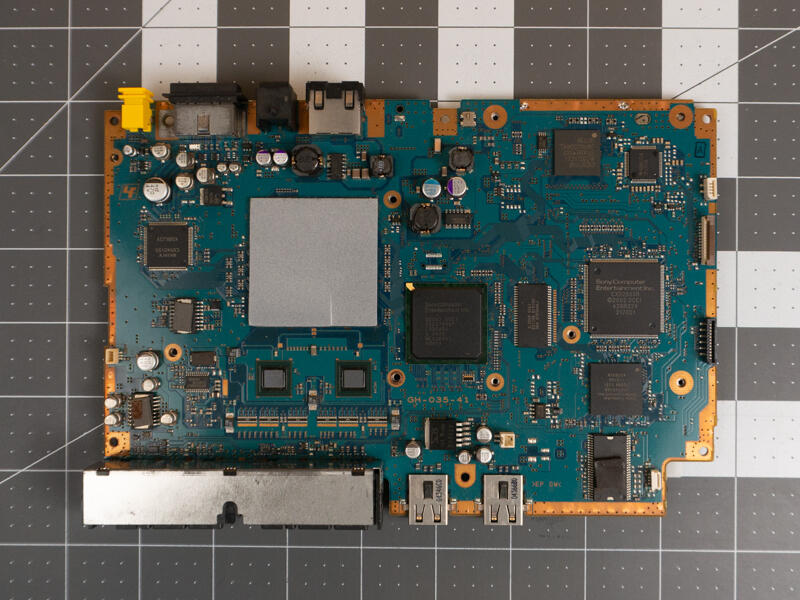
Lift the top shield away from the PCB.
If any thermal pads come loose store them in a safe place.
Step 2.8 Clean the PCB
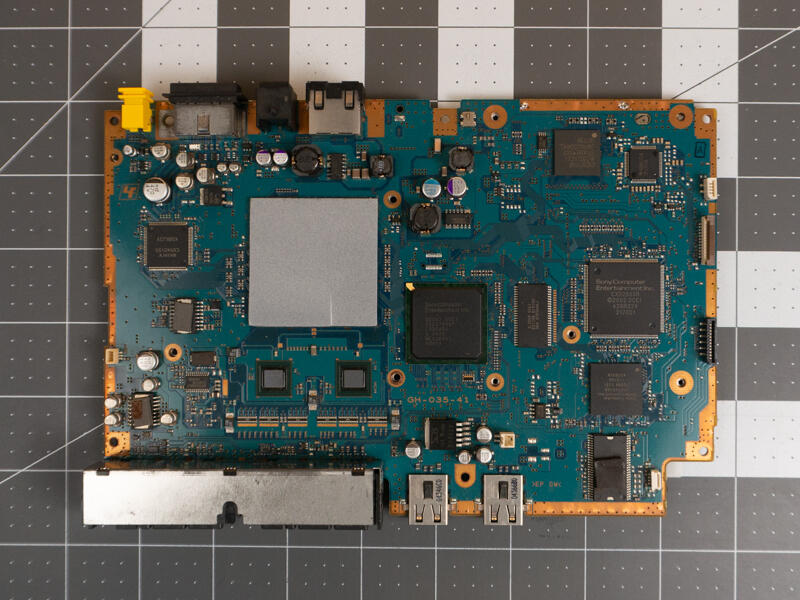
With everything disassembled this is a good opportunity to clean the internals of your PS2 if they are dirty.